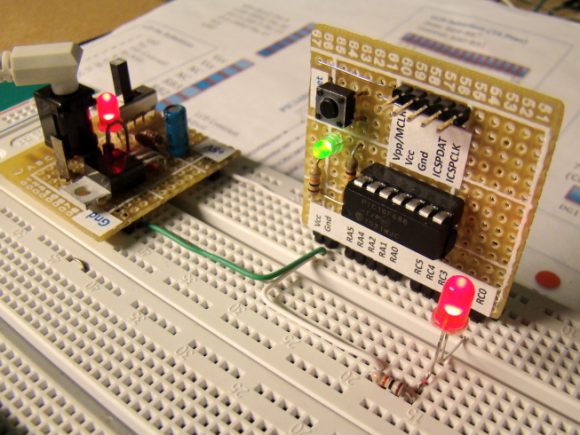
PIC12F683 has a built-in PWM module. The PWM output (CCP1 pin) is multiplexed with GPIO.2 (pin 5). So the TRISIO<2> bit must be cleared to make the CCP1 pin an output.
The objective of this experiment is to control the speed of a DC motor with an input from a potentiometer. This will be achieved in two steps:
- Read analog value (potentiometer output) through AN0 channel and generate a PWM wave at CCP1 pin (5) with duty cycle proportional to the analog value.
- Feed the PWM to motor driver transistor and observe the speed.
mikroC library routines for PWM
PWM1_Init
PWM1_Set_Duty
PWM1_Start
PWM1_Stop
Since PWM1_Set_Duty library function takes duty cycle input as an 8-bit integer, the digital value of analog signal, which is 10-bit, must be converted to 8-bit first. This will give 256 speed levels (0-255).
Experimental Setup
Connect POT2 output to pin 7 (AN0) of PIC12F683 and pin 5 (CCP1) to the input of motor driver transistor.
Software
/*
PIC12F683 Experiment Board
Experimen No. 5 : DC Motor Speed Control using PWM
Date: 07/28
/2010
*/
unsigned short DutyCycle=0;
unsigned int adc_value;
void main() {
CMCON0 = 7;
TRISIO = 9; // GPIO 0 and 3 Inputs; Rest are O/Ps
ANSEL = 0x01;
GPIO = 0;
PWM1_Init(5000); // PWM module initialization (5KHz)
PWM1_Start(); // Start PWM1 module with Zero DC
PWM1_Set_Duty(DutyCycle);
do {
adc_value = ADC_Read(0);
DutyCycle = adc_value >> 2; // Convert 10-bit ADC value to 8-bit
PWM1_Set_Duty(DutyCycle);
} while(1);
}
Output
The speed of the DC motor is controlled with the potentiometer.


2 comments:
Thank you for this fine circuit.
There are many PIC12F circuits on: www.artic-instruments.webs.com
If you are looking for fine but cheap instruments and accessories like cables for your experimants.
Look at www.h-instruments.ecrater.com and www.h-instruments.com. I am using scope probes and test cables they are selling and the quality is very good. And there is free shipping world wide!
Post a Comment