In this experiment, we will demonstrate how to read inputs from tact switches, and then will also show how to send character data from PIC12F683 to a desktop PC Hyper-Terminal program through UART communication. Remember that PIC12F683 doesn't have hardware UART module, so we are going to use the Soft_UART library routines from mikroC for this purpose. Regarding the Hyper-Terminal setup on PC,
read this. Besides, to read the user inputs from tact switches, Button Library routines in mikroC will be used.
Snapshots of the required Library Routines from mikroC User's Manual
Setup:
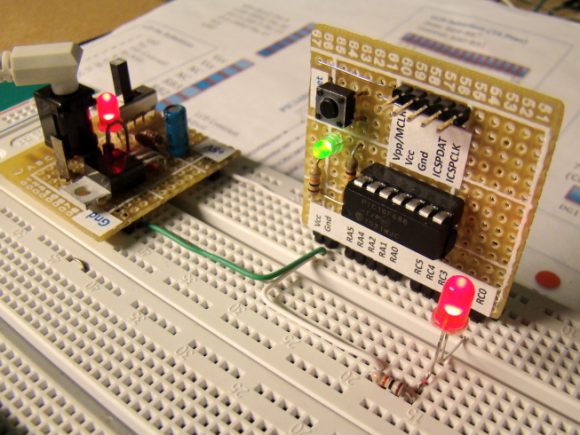
The two switch inputs in our board will be connected to GP0 and GP1 port (Pins 7 and 6 respectively). GP5 (Pin 2) will be used for Software UART Tx. So here is what you need to do:
- Connect SW1 and SW2 (tact switches) to GP0 and GP1 using jumper wires,
- Connect GP5 to input Tx of TTL to RS232 Level Shifter circuit,
- Connect Rx(2) and Gnd(5) pins of a RS232 port to the board.