
Blogroll
| My PIC12F683 Development Board | |
 Circuit diagram for each experiment may not be available separately because they are conducted with PIC12F683 development board that I made. So, the readers should first see the schematic of my development board.
|
|
Sunday, June 5, 2011
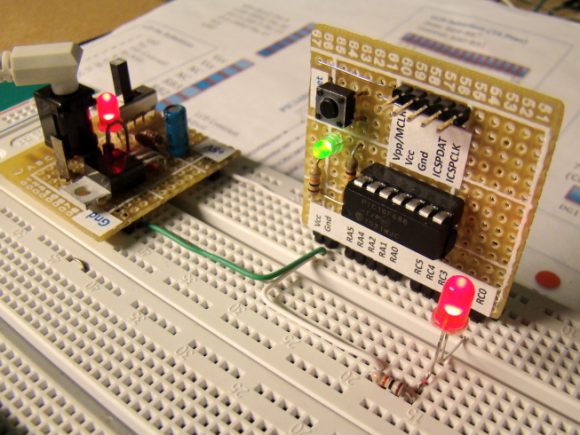
Add more I/O ports to PIC12F683 with MCP23008 port expander
PIC12F683 microcontroller has got only 6 I/O pins. We saw how to interface a standard character LCD to PIC12F683 using a 74HC595 shift register. The same technique can be implemented for interfacing a seven segment LED display. However, shift registers like 74HC595 allows to add more output ports but not any input port. MCP23008 is a GPIO port expander that can provide additional 8 port pins that can be configured as digital inputs or outputs. This tutorial describes all the details about using MCP23008 with PIC12F683 to expand its I/O capability.

Sunday, November 28, 2010
Experiment No. 7: Generating Melody with a Microcontroller
Introduction
This experiment is about generating a melody tune using a PIC microcontroller. Well, this won't be difficult if you know the notes of the tune, and their respective frequencies. Here's a chart for note to frequency conversion. We will play the 'Happy Birthday' tune with a PIC12F683 microcontroller. The microcontroller will generate the frequencies of the various notes (with proper timing) in the tune and the melody will be played in a piezoelectric buzzer.
Circuit Setup
The piezo buzzer is connected to the GP2 port of PIC12F683.


Thursday, October 28, 2010
Contact-less tachometer based on PIC16F628A uC
Check out my new tachometer project based on PIC16F628A microcontroller. It uses an infrared sensor module to sense the rotation speed of a shaft or disc. The range of measurement is 0-9999 RPM. The full details on hardware and software is available.

Subscribe to:
Posts (Atom)
Online Embedded Systems Lab
|
This online laboratory teaches you the fundamentals of microcontroller-based embedded system development through a series of laboratory exercises. Most of the time, students and hobbyists could not afford expensive development kits and software to learn these things. These tutorials are prepared such that you will be building microcontroller projects at a minimum cost. Check this out |